Understanding Drywall Painting Basics
Drywall painting is a crucial step in home improvement and renovation, transforming bare walls into vibrant and appealing spaces. It’s not just about slapping on a coat of paint; it involves a thorough understanding of techniques, tools, and the materials involved. This guide explores the intricacies of drywall painting, providing you with the insights necessary for achieving professional-grade results.
What is Drywall Painting?
Drywall painting refers to the process of applying paint to drywall surfaces—typically gypsum board that’s used for creating interior walls and ceilings. The process requires more than just paint; it encompasses preparation, priming, painting, and finishing techniques to ensure a smooth, beautiful, and lasting finish.
Why Proper Preparation is Key
Preparation is arguably the most critical step in drywall painting. It involves cleaning the drywall surface, repairing any imperfections, and applying the right products. This phase ensures that the paint adheres properly, providing a durable and aesthetically pleasing finish.
Common prep work includes:
- Sanding the surface for a smooth finish.
- Filling cracks or holes with joint compound.
- Cleaning dust and debris off the walls to ensure good paint adhesion.
Common Mistakes in Drywall Painting
Many DIY enthusiasts make several mistakes that can ruin their drywall painting projects:
- Skipping Primer: A common pitfall is not using primer, which can lead to poor color coverage and an uneven finish.
- Inadequate Surface Preparation: Neglecting to clean or repair the drywall can result in peeling and flaking paint.
- Choosing the Wrong Paint: Using improper paint types, such as outdoor paint for indoor surfaces, can yield unsatisfactory results.
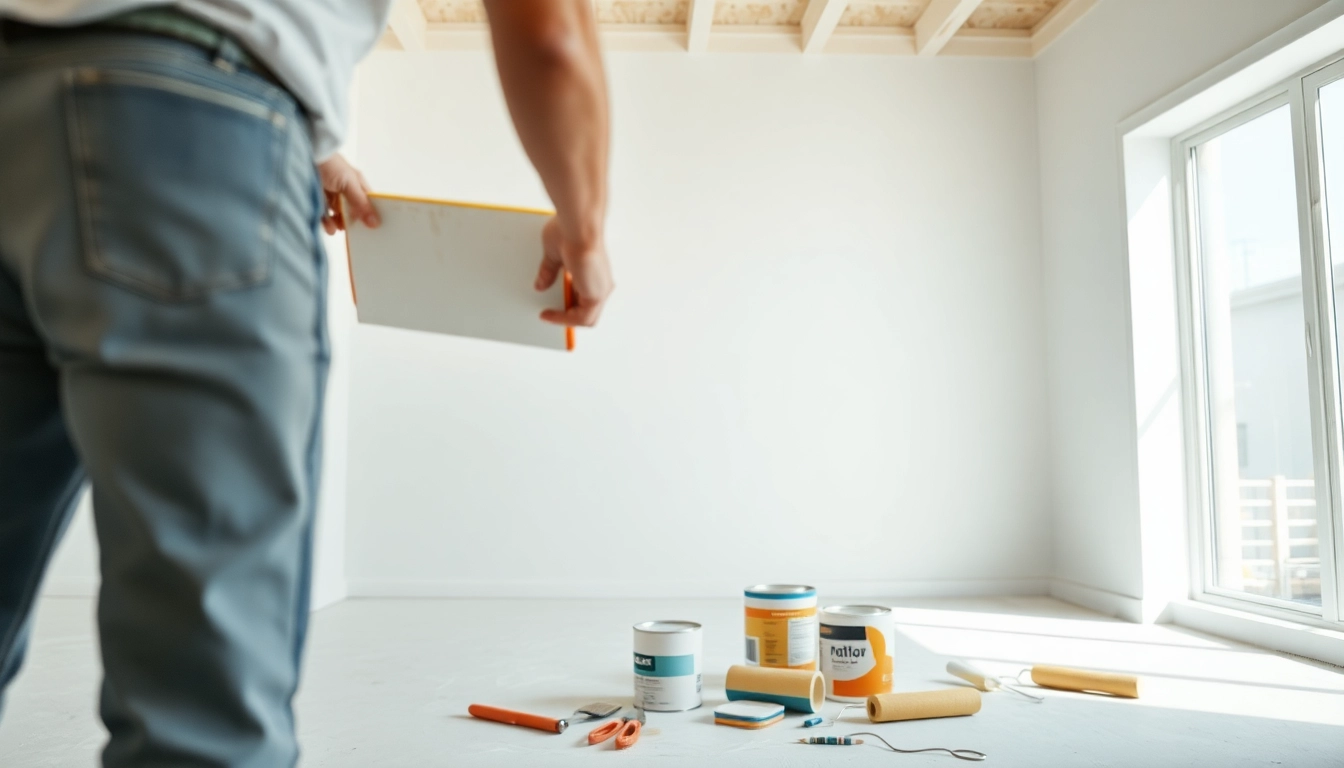
Essential Tools for Drywall Painting
Must-Have Painting Supplies
To ensure a successful drywall painting project, it’s essential to have the right tools and supplies on hand. Here’s a list of must-have items:
- Drop Cloths: Protect floors and furniture from paint splatter.
- Paint Brushes and Rollers: Use high-quality brushes for edges and rollers for large areas.
- Paint Tray: Necessary for loading brushes and rollers with paint.
- Sandpaper: For smoothing surfaces during preparation.
- Putty Knife: Ideal for applying joint compound and patching surfaces.
- Primer: Essential for preparing the surface before painting.
Choosing the Right Paint for Drywall
When selecting paint for drywall, consider the following:
- Type: Acrylic and latex paints are popular choices due to their easy application and durability.
- Finish: The finish affects appearance and durability. Options include flat, eggshell, satin, semi-gloss, and gloss.
- Color: Test paint samples on the wall before committing to a color. Lighting can affect how colors look.
Importance of Primer in Drywall Painting
Primer is a crucial component in drywall painting. It enhances paint adhesion, seals the surface, and improves color coverage. Here are the key benefits of using primer:
- Even Color Application: Primer creates a uniform base, allowing the paint to go on evenly.
- Seals Imperfections: It helps hide flaws and repairs in the drywall surface.
- Increases Durability: Primer can enhance the lifespan of the paint job.
Step-by-Step Guide to Drywall Painting
Preparing the Surface for Painting
The surface preparation stage is critical to achieving a flawless finish. Start by cleaning the drywall thoroughly. Here are the steps to follow:
- Tape Off Areas: Use painter’s tape to protect edges and adjacent surfaces.
- Repair Damage: Fill any gaps, cracks, or holes with joint compound and sand smooth.
- Clean the Surface: Remove dust by vacuuming or wiping down with a damp cloth.
- Sanding: Sand the entire surface to create an even texture.
Applying Primer for Optimal Results
Once the surface is prepped, it’s time to apply primer. Follow these guidelines for the best results:
- Choose the Right Primer: Select a primer suited for drywall, preferably a water-based product.
- Use Proper Tools: Use a roller for vast areas and a brush for edges and corners.
- Apply Evenly: Apply a thin, even coat, avoiding heavy application that can lead to drips.
- Allow to Dry: Follow the manufacturer’s instructions for drying times, typically a few hours.
Techniques for Even Paint Application
After priming, it’s time to paint. Here are some tips to ensure an even application:
- Start with Edges: Always begin painting by cutting in around borders and edges with a brush.
- Use the Right Roller: A roller with the appropriate nap (thickness) based on your drywall texture will help achieve a smooth finish.
- Paint in Sections: Work in small sections and blend into wet edges to avoid lap marks.
- Apply Multiple Coats: For a rich and consistent color, apply at least two coats of paint, allowing sufficient drying time between them.
Advanced Techniques for Professional Results
Using Texture in Drywall Painting
Texture can significantly enhance the visual appeal of painted drywall. Here are some techniques to consider:
- Knockdown: This technique involves spraying a joint compound mixture onto the surface and then knocking it down with a trowel to create a subtle texture.
- Roller Texturing: Use a specific roller designed to create texture patterns, adding depth and character to your walls.
- Stencils and Patterns: Incorporating stencils can add intricate designs to your walls, making them unique.
Advanced Finishing Techniques
For those aiming for a truly professional finish, consider these advanced techniques:
- Faux Finishes: These techniques mimic materials like marble or wood and can be achieved with specific painting methods or tools.
- Glaze Application: A glaze can enhance color depth and provide a soft sheen or aged look.
- High-Gloss Finishing: Using high-gloss paint on trim and moldings can create stunning contrasts with matte wall finishes.
Handling Special Situations in Drywall Painting
Certain unique conditions may require additional considerations:
- Painting Over Textured Walls: It may require more skilled application techniques to ensure even coverage.
- Dark-Colored Paints: Use tinted primer to reduce the number of paint coats needed.
- Moisture-Prone Areas: Special moisture-resistant paints may be necessary for bathrooms and kitchens.
Maintenance and Care After Painting
How to Maintain Painted Drywall
After the paint has dried, proper maintenance ensures the longevity of your painted surfaces:
- Regular Dusting: Use a microfiber cloth or a duster to remove dust and prevent buildup.
- Clean Stains Promptly: Address any stains or marks immediately with a damp cloth and a mild detergent.
- Avoid Harsh Chemicals: Use gentle cleaners to avoid damaging the finish.
Repairing Common Painting Issues
Over time, painted drywall may encounter common issues. Here are some solutions:
- Peeling Paint: Scrape off loose paint, sand the area, and repaint after priming.
- Stains: Spot treat stains with a stain-blocking primer before repainting.
- Blistering: Improper preparation is often the cause. Address the root issue before repainting.
When to Repaint Your Drywall
Knowing when to repaint can help maintain the beauty of your space:
- Every 5-7 Years: General recommendation for high-traffic areas.
- Changes in Décor: If you update furnishings or style, a fresh coat can unify the look.
- Visible Wear and Tear: If the paint appears faded, scratched, or chipped, it’s time to repaint.


Leave a Reply