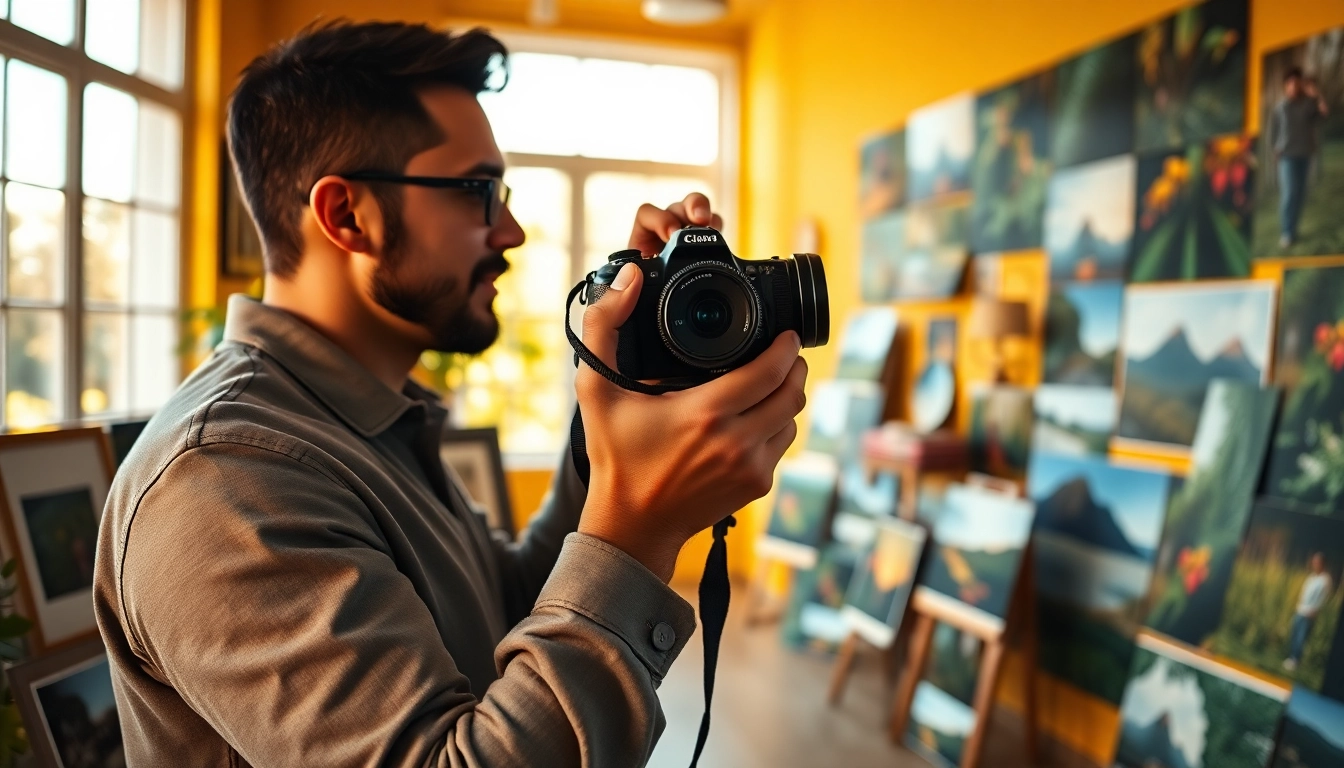
For photographers and visual artists seeking to refine their work through tailored editing, utilizing Premium presets can be a game-changing strategy. These presets—essentially pre-defined color grading and adjustment settings—streamline the post-processing workflow, allowing creators to both enhance their editing capabilities and maintain a unique style. This comprehensive guide explores the world of Premium presets, addressing their definition, benefits, common misconceptions, selection advice, installation steps, and how to effectively use them to showcase your work.
Understanding Premium Presets
What are Premium Presets?
Premium presets are advanced, high-quality editing tools designed for platforms like Adobe Lightroom, Adobe Photoshop, and similar photo editing software. These pre-set configurations adjust various settings such as exposure, contrast, color balance, and sharpness to achieve a desired aesthetic quickly. Unlike basic presets which may be simple and general, Premium presets are typically crafted by professional photographers and designers, offering nuanced adjustments that cater to different styles and photography genres.
Benefits of Using Premium Presets for Photographers
The integration of Premium presets into a photographer’s editing workflow can yield numerous benefits:
- Efficiency: Presets drastically reduce editing time. Rather than adjusting each setting manually for every photo, clicking a preset can apply a cohesive style across multiple images with minimal effort.
- Consistency: Maintaining a consistent look is vital for brand identity, especially for professionals. Premium presets help achieve uniformity across different packages of photos, which is particularly helpful for social media feeds or portfolios.
- Creative Exploration: Many photographers discover new styles and approaches to their work by experimenting with different presets. Premium presets can lead to creative breakthroughs that may not have been reached through manual editing alone.
- Professional Quality: The development of Premium presets often involves industry expertise, ensuring that users get a polished effect without needing advanced editing skills.
Common Misconceptions About Premium Presets
Despite their advantages, several misconceptions surround Premium presets:
- Set It and Forget It: Some photographers believe that using presets requires no further adjustment, which can lead to subpar results. Understanding how to customize presets to individual images is essential for optimal outcomes.
- One-Size-Fits-All: There’s a notion that a single preset will work perfectly for all images. In reality, lighting conditions, subjects, and settings can change drastically; thus, adjustments are often necessary to suit specific situations.
- Only for Beginners: While presets are indeed great for novices, they are equally beneficial for seasoned photographers seeking efficiency without sacrificing quality.
Selecting the Right Premium Presets
How to Choose Premium Presets That Suit Your Style
Selecting the right Premium presets requires a thoughtful approach:
- Identify Your Aesthetic: Before purchasing presets, determine your photography style—whether it’s minimalist, vibrant, moody, or classic. This ensures that the presets you choose will enhance your work.
- Investigate Popularity: Reviews and user testimonials can provide insight into how well the preset performs in real-world applications. Opt for presets that come recommended by multiple sources.
- Test Before Commitment: Whenever possible, acquire sample presets to test on your images. Many creators offer free samples or trial versions, allowing you to evaluate their fit for your style.
Popular Categories of Premium Presets to Consider
Some common categories of Premium presets include:
- Portrait: Designed to flatter skin tones and enhance facial features, ideal for family, engagement, and professional portrait photography.
- Landscape: These presets emphasize colors and contrasts in outdoor photography, enhancing natural vistas and creating dramatic effects.
- Wedding: Catering to the unique aesthetic needs of wedding photography, these presets often focus on romance, warmth, and soft focus.
- Film Emulation: This category aims to replicate the classic looks of various films, evoking nostalgia and a vintage feel in digital photography.
Analyzing User Reviews on Premium Presets
Reviews can play a crucial role in guiding your selection. Here are key aspects to consider when evaluating user feedback:
- Ease of Use: Look for comments on how user-friendly the installation and application process is. Presets that are easy to use can save valuable editing time.
- Result Consistency: Check how consistently users achieved desired results across different types of images. This insight will be invaluable for photographers who shoot in varying conditions.
- Customer Support: Consider brands praised for their customer service. A reputable provider will assist with any installation or compatibility issues you may encounter.
Installing and Using Premium Presets
Step-by-Step Guide to Installing Premium Presets
Installing Premium presets can vary slightly depending on the software you are using. Here’s a general step-by-step guide to help you get started:
- Download the Presets: Once you’ve acquired your Premium presets, ensure they are stored in a commonly accessible folder on your device.
- Open Your Editing Software: Launch Adobe Lightroom (or the software of your choice) and navigate to the Develop Module.
- Access the Presets Panel: On the left side of the screen, locate the Presets panel. Click the +/- icon to expand the options.
- Import Presets: Right-click (or Ctrl-click on a Mac) in the Presets panel, then select “Import” and navigate to the folder where you saved your presets. Choose the presets you wish to install and confirm the action.
- Check Availability: After importing, your Premium presets should be listed under the My Presets section, ready for use!
Setting Up Premium Presets in Your Workflow
To fully integrate Premium presets into your photography workflow, consider the following tips:
- Create a Consistent Preset Folder: Organize your presets into folders based on categories, such as ‘Weddings,’ ‘Portraits,’ or ‘Landscapes.’ This ensures easy access during the editing process.
- Develop a Customization Routine: After applying a preset, set aside time to tweak essential settings like exposure, contrast, and saturation. This will enhance compatibility with individual images.
- Save Customized Versions: If you make significant changes to a preset, save it as a new preset. This allows you to retain your personalized edits for future use.
Tips for Maximizing the Impact of Premium Presets
To fully leverage Premium presets, keep the following strategies in mind:
- Experiment Regularly: Don’t hesitate to try new presets and combinations. This exploration can lead to improved techniques and aesthetics in your work.
- Stay Updated: Photographic trends evolve, so staying informed about new presets and updates is crucial. Subscribing to photography blogs and newsletters can aid this.
- Seek Community Feedback: Join photography groups online to share your edits, gather opinions, and inspire one another with preset application techniques.
Showcasing Your Work with Premium Presets
Best Practices for Presenting Edited Photos
Once your images are edited using Premium presets, it’s important to present them effectively. Here are some best practices:
- Use Appropriate Dimensions: Ensure your images are optimally sized for the platforms where you showcase them. Different social media channels may have unique requirements.
- Maintain an Edit Consistency: When curating a series of images, apply similar presets to create a unified presentation that enhances storytelling.
- Optimize Image Quality: Export your photographs in high resolution to retain detail and clarity when displaying on various platforms.
Creating a Portfolio with Premium Presets
Building a portfolio that effectively showcases your versatility and skills is crucial for attracting potential clients. Consider these steps:
- Diversify Your Selections: Include a range of work that utilizes different presets, demonstrating your capability to adapt to various styles and themes.
- Highlight Key Projects: Choose standout images that reflect significant projects or milestones in your career. Discuss the narratives behind them for added context.
- Regular Updates: Keep your portfolio fresh by periodically updating it with new work and removing outdated images, ensuring it represents your current style and expertise.
Social Media Strategies for Sharing Your Work
Effectively promoting your edited images online involves strategic sharing. Here are some approaches:
- Use Hashtags Wisely: Incorporate relevant hashtags that connect your work to broader photography trends, increasing discoverability.
- Engage With Followers: Respond to comments and engage with your audience’s content. Building a community can lead to increased interest in your work.
- Feature Before-and-After Examples: Showcasing edits using Premium presets can educate your audience on the power of post-processing and create greater appreciation for your skills.
Advancing Your Skills with Premium Presets
Combining Premium Presets with Manual Editing Techniques
While Premium presets offer a plethora of advantages, combining them with manual editing can yield exceptional results:
- Fine-Tuning Details: Use manual adjustments post-presets to enhance areas that require special attention, such as highlights, shadows, or skin tones.
- Layering Techniques: Experiment with blending various presets and manual adjustments for unique effects that stand out.
- Understand Your Tools: Familiarizing yourself with the adjustment sliders in your editing software will empower you to make precise edits that complement your presets.
Learning from the Community: Examples and Inspiration
Your peers can be a powerful resource for gaining insight and inspiration:
- Join Online Forums: Participating in photography communities, whether local or online, can provide dynamic discussions, high-quality critiques, and new ideas.
- Attend Workshops: Numerous workshops focus on specific aspects of photography and editing, providing opportunities to learn from experienced professionals in person.
- Follow Influencers: Keeping tabs on photographers whose style you admire can give you insights into preset choices and editing techniques they employ.
Continuing Education in Photography and Editing
The realm of photography is ever-evolving, and committing to continuous learning can enhance your craft significantly:
- Online Courses: Invest in courses that provide onboarding with new techniques and software updates, expanding your editing capabilities.
- Read Industry Publications: Subscribing to photography magazines or blogs can keep you informed about new tools, trends, and tips from seasoned professionals.
- Experiment With New Equipment: Every piece of equipment can affect your editing process. Investing time in understanding new gear can enhance both your shooting and editing skills.


Leave a Reply